Wednesday, January 30, 2008

Beef Stock

I made beef stock the other day at home. Stock is one of the major foundations for any sort of cooking, especially anything in a restaurant. Stock is mostly made from scraps of other products. The thing is, these days most places get all their food already processed; no one cuts up their own meat most of the time. So, in this case you can buy your beef bones already cut up at the store or from your purveyor if you want to make your own stock (like me).


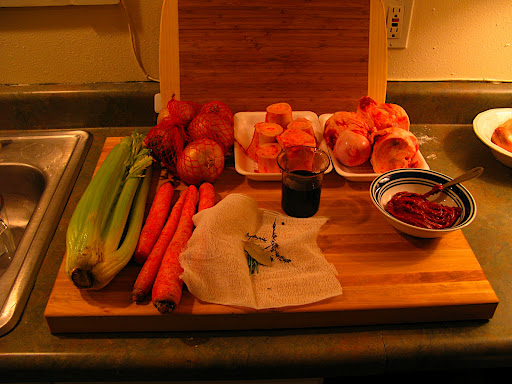
Making stock is easy because the ingredients are percentages (by weight) of a whole. The breakdown is 100% water, 50% bones, 10% mirepoix. One gallon of water weighs eight pounds, so for one gallon of stock you use one gallon water, four pounds bones, and 12 oz of mirepoix (onions, carrot and celery chopped).

Other ingredients are:
Sachet (parsley stems, bay leaf, sprig of thyme, peppercorns)
Tomato paste
Red wine


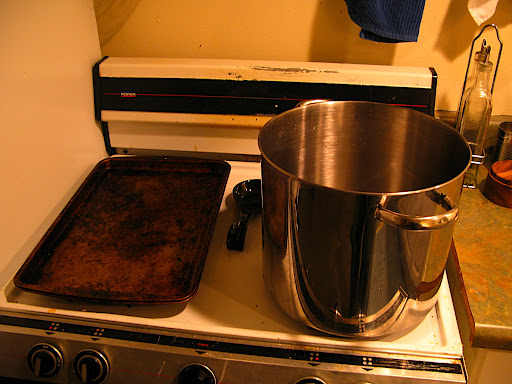
You will also need a large stockpot and a roasting pan.


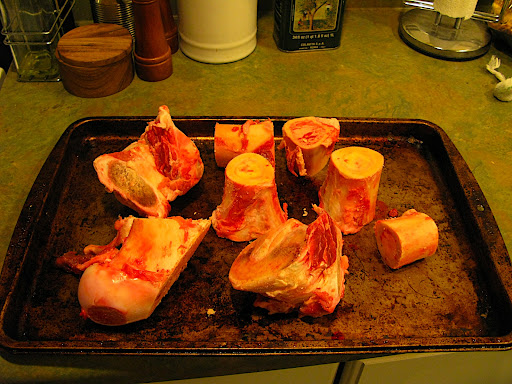
Here's the beef bones, just over 4 lbs.


And the sachet.


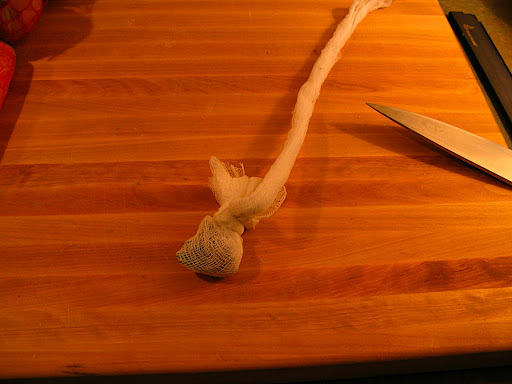
Wrapped in cheesecloth, with a string or something tied on the end so you can connect it to the handle of the stockpot for easy removal.


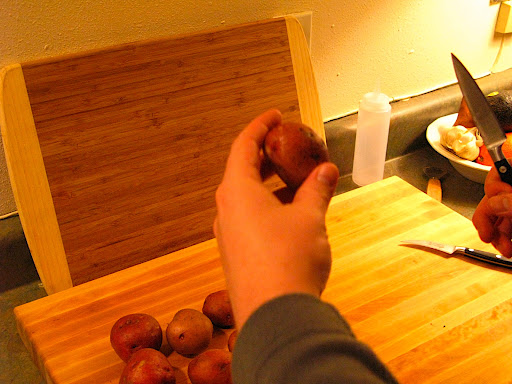
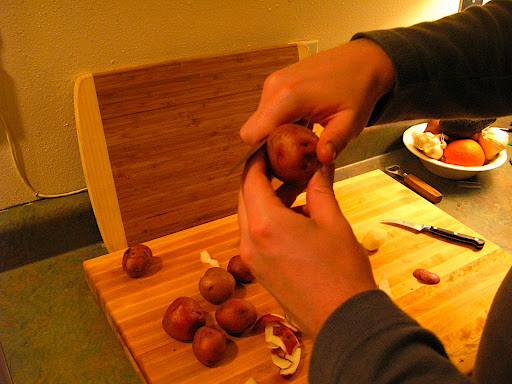
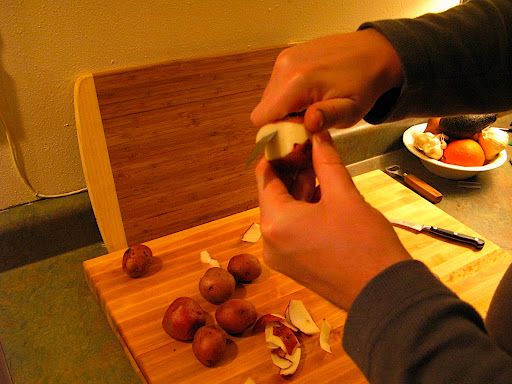
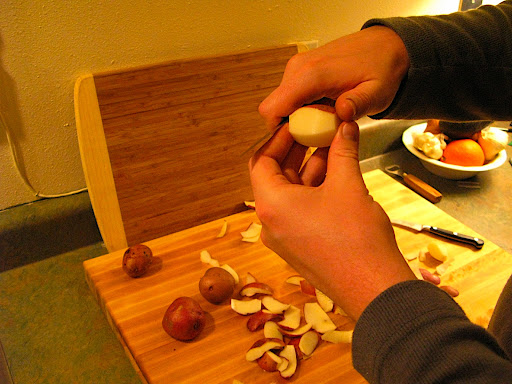
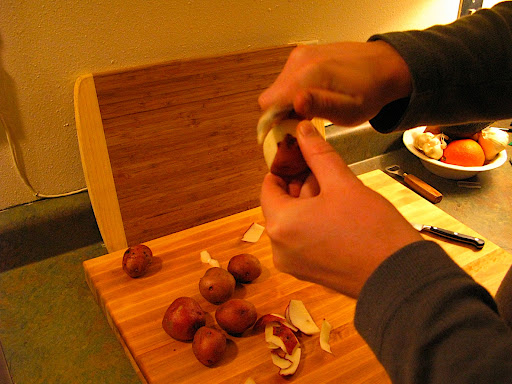
I roughly chopped the mirepoix. Also, for stock, you want your mirepoix to be 50% onion, 25% carrot and 25% celery.


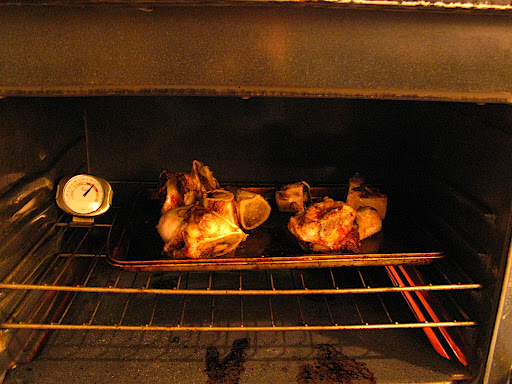
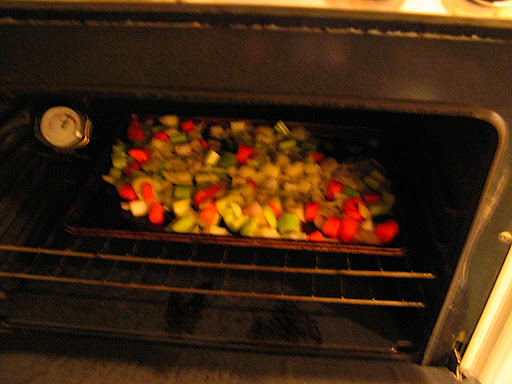
Roast the beef bones at 400 degrees . . .


until they are well browned.


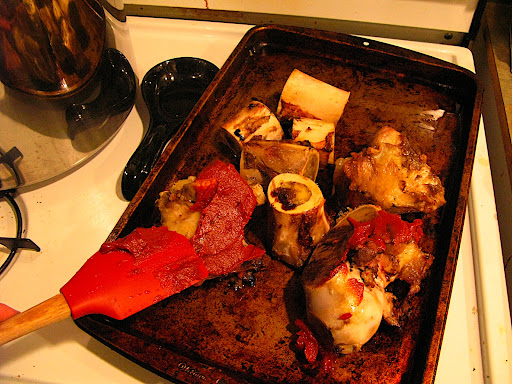
Then, slather on the tomato paste with a spatula.


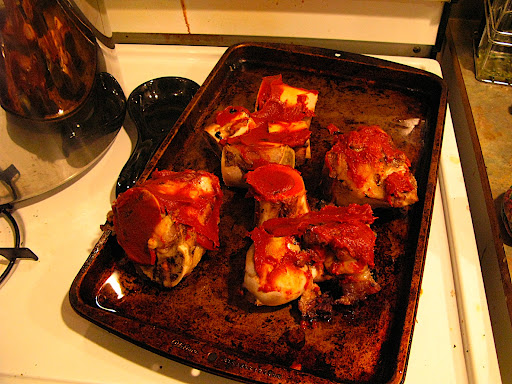
And throw them back in the oven . . .


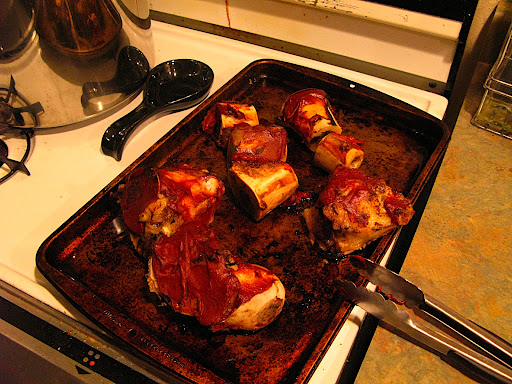
for just a short time and the paste is melted into the bones.


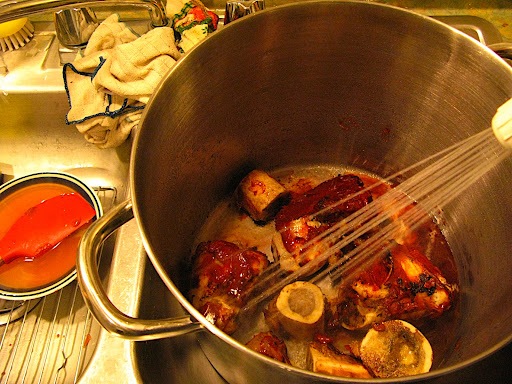
Remove the bones from the pan and put them in the stockpot, and drain the fat off, discard.


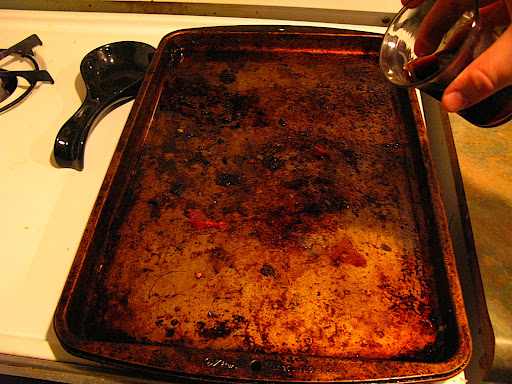
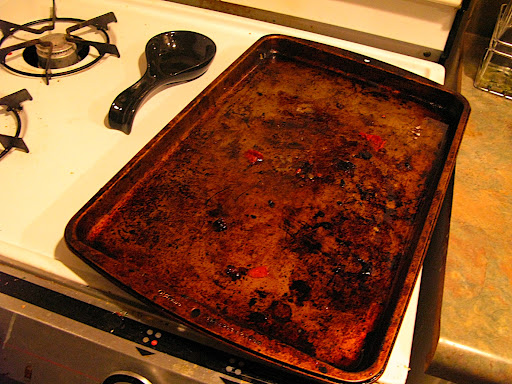
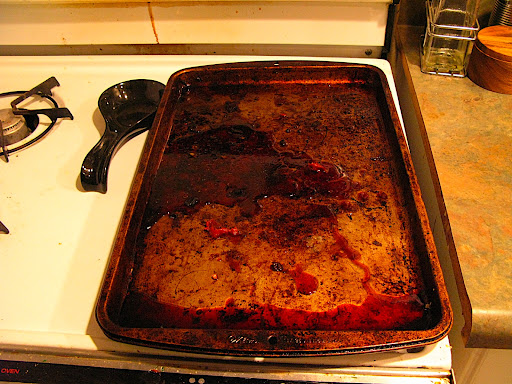
Then take the red wine and deglaze the pan to get all the bits of meat and fat off the pan and pour it into the stockpot with the bones.


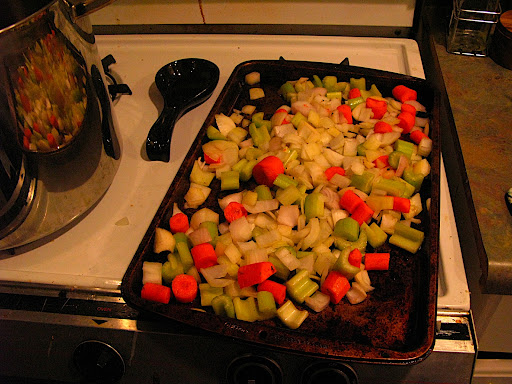
Then put the mirepoix in the roasting pan and throw it in the oven.


While the mirepoix is roasting, add the water (cold) to the stockpot. You want cold water because then more of the impurities in the bones are removed if the water goes through the full range of temperatures. Some impurities are removed with cold water only.


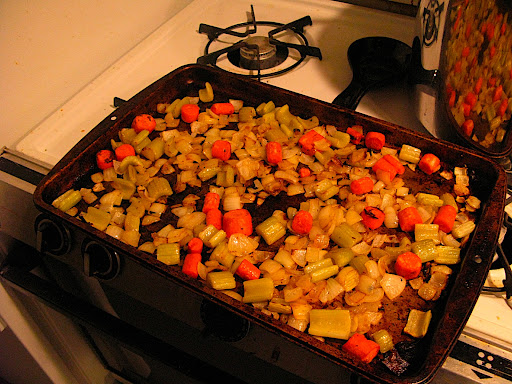
The mirepox shouldn't take long to brown slightly, only a few minutes.


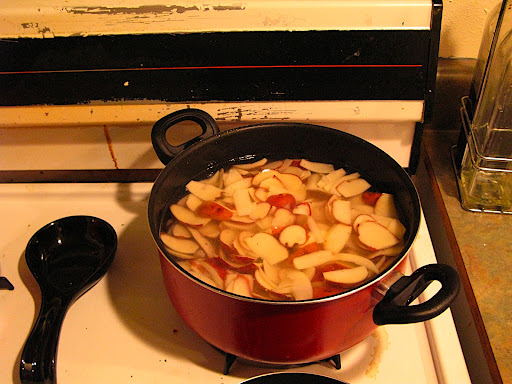
Add the mirepoix and sachet; bring up to a boil


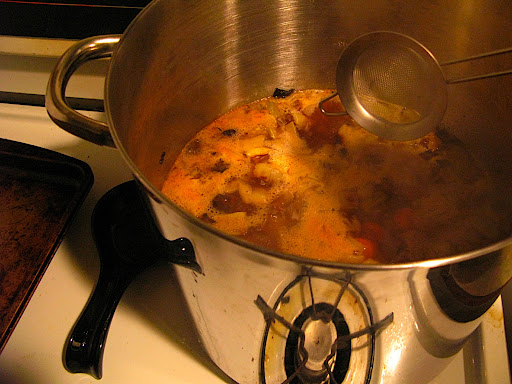
Skim the impurities off the top right when it gets to boiling point, and turn the heat down to a simmer.

A beef stock is usually ready in 6-8 hours of simmering.


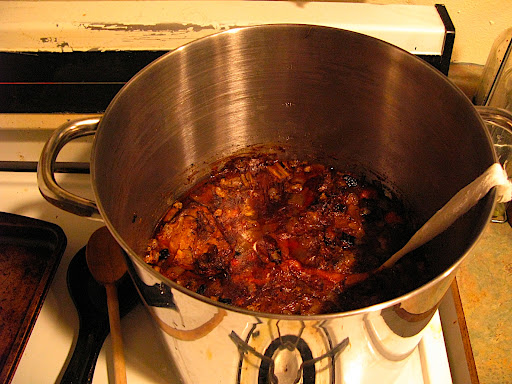
I left mine on overnight (about 10 hours).
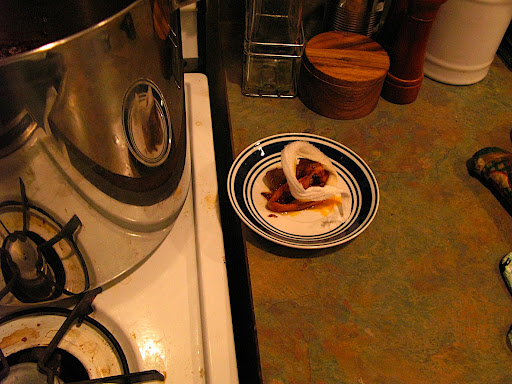


Remove the sachet.


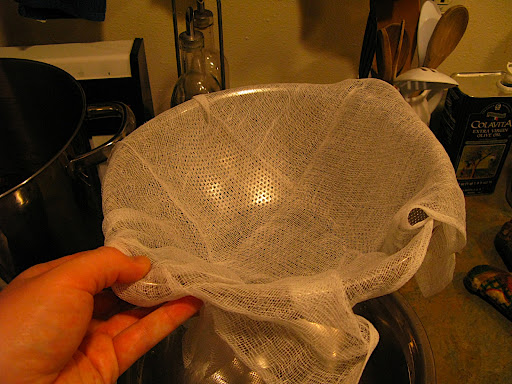
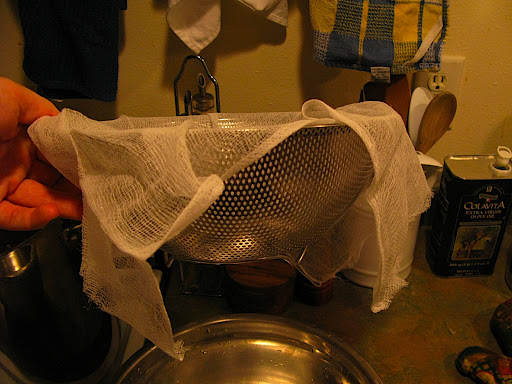
Line a strainer with cheesecloth . . .


Remove the bones with tongs . . .


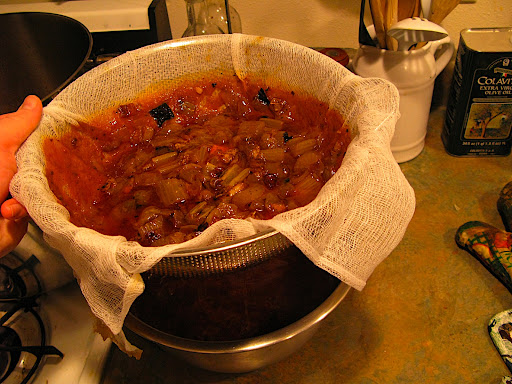
And pour the liquid through the strainer.


At this point, you want to cool it down quickly so harmful bacteria have a lesser chance to grow, so you want to vent it in an ice water bath.

The sanitation rules say that the product must be down to 70 degrees within two hours, and down to 40 within four hours after taking off the heat.


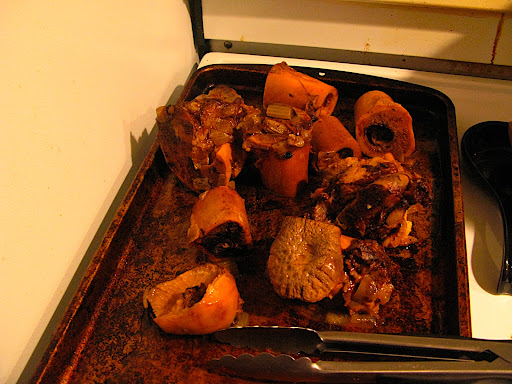
Here are the bones after simmering all night.


Also, you don't want to put a hot product in your refrigerator because it will heat everything else in there up. I made sure i got it down to about 60 before i put it in the refrigerator.

Next time, i'll use the stock in a sauce

Pics from last day of Skills 2

i On our last day of class we made a banquet. Each group was responsible for a different part of the meal.

I took some pictures while we were prepping and cooking everything up.


Duchesse potatoes:
Mashed potatoes mixed with egg yolks. We then put them through a pasty bag with a star tip and broiled them.


Here they are barding filets with bacon.

Barding: wrapping with fat, in this case, bacon.
not to be confused with:
Larding: injecting with fat.


Breaded, pan-fried pork cutlet with sauteed vegetables and creamy polenta.


Filet mignon with sauteed vegetables and Duchesse Potatoes.


Monday, January 28, 2008

Potato Cocottes

Here's a useful skill (ha!).

Some of you may ask why we do such detailed work with our food products. The most obvious answer is; it looks pretty! And it's true, it looks a lot nicer than if I just peeled it. Also, if I was serving these potatoes, and not just peeled red potatoes, I can charge a few dollars more for the cost of the plate. This is what the chefs at school have to say about these skills; "People can have peeled potatoes at home, when they go out they want to be wowed, and this is an easy way to wow everyone."


Any paring knife is good for this.


I tried it with the regular paring knife (left), and then I tried it with the Tournai knife (right), and both gave me the same result.


Start by cutting off the ends, just a tiny bit so you can have a flat side to work with.

Then hold the potato in your non-knife hand between your thumb and forefinger.


Holding the knife in your fingers, with your thumb on the bottom of the potato, use a curving motion; turning your hands in opposite directions.

Rotate your left wrist away from you while at the same time bringing the paring knife towards your right thumb.


You should be able to peel off a nice curved piece.

Make sure when you start a slice, you finish it; you don't want to stop mid slice, because then the sides aren't smooth.


Rotate the potato just a little so your next cut is about halfway into your previous slice, and do it again.


Continue the motion, rotating the potato after each peel.


When all the peel is gone, I like to flip the potato around; starting my cut on the side I finished on to even out the thickness.


Continue to rotate the potato, making the sides as even as possible.

(the potato should have around seven sides)


Here we go again . . .


Don't those look nice?


And you can mash up all the scraps if you don't want to waste them.